# How I used HarperDB Custom Functions to build a web app for my newsletter
I run a Whatsapp newsletter called ** [Smart-Internet ⚡](https://richurl.tech/join-Smart-Internet) ** where I share useful resources and articles about products, startups and marketing.
But the problem with Whatsapp Newsletter is, new subscribers can't access the old content.
So, I decided to **create a simple project **where you can **access all the articles/resources** which I have shared with the group, segregated into different sections.
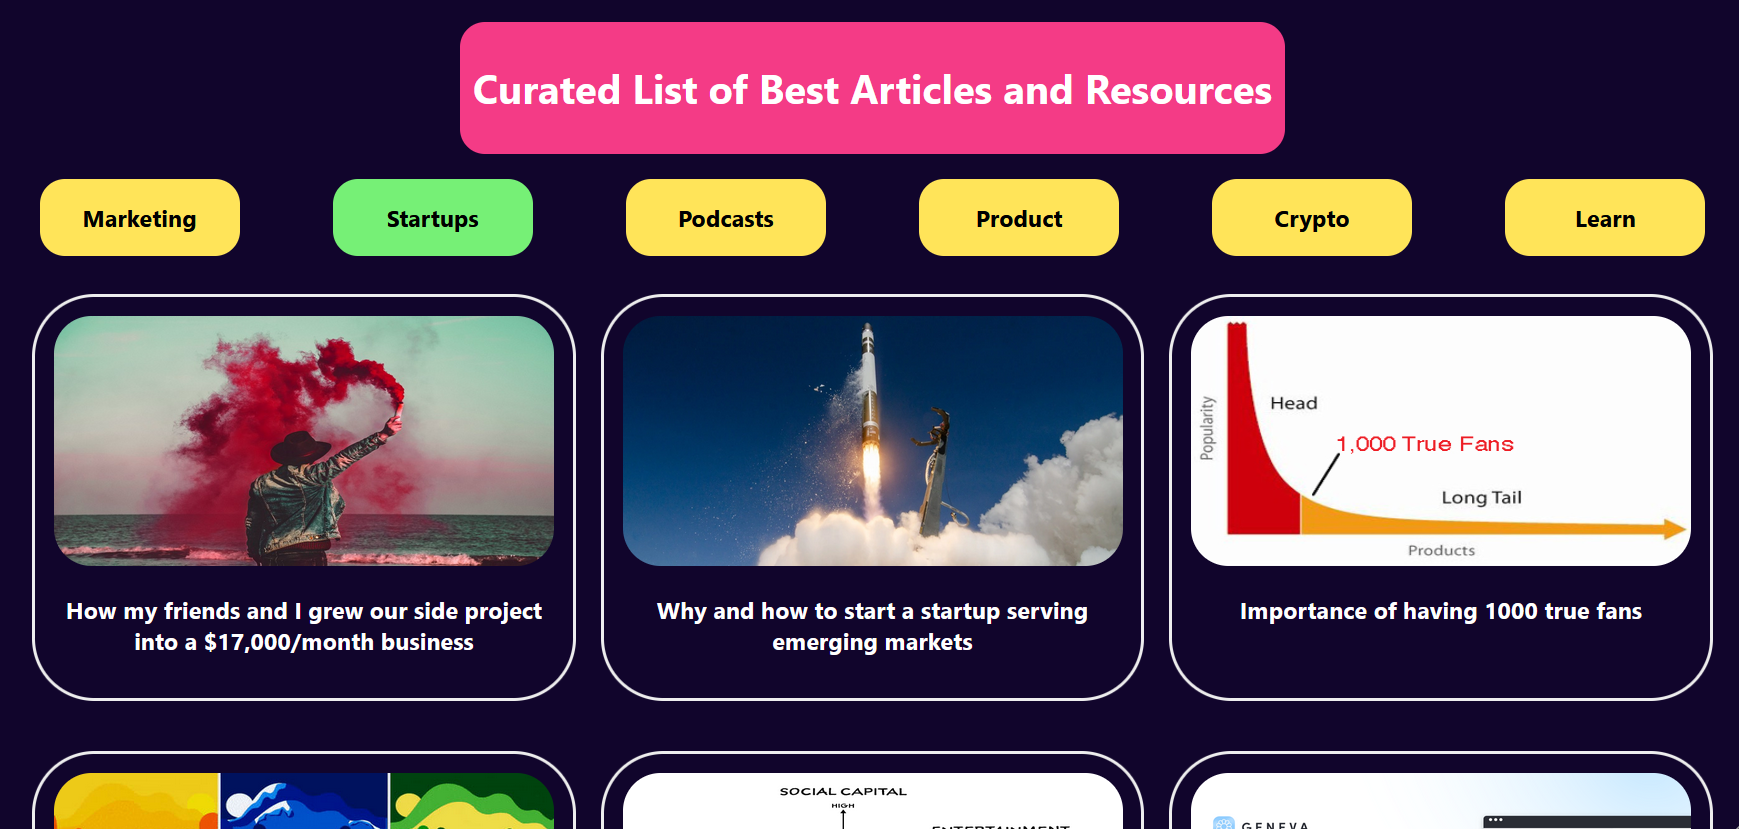
Building a curation website like this is super easy.
By following this tutorial you will **create your own curation website** and **will learn about creating different endpoints in the backend to access data on HarperDB**.
For the backend I was planning on using an Express server and deploying it to a Digital Ocean instance.
Luckily, we don't need to spend extra cash on running another instance somewhere else.
Because HarperDB recently announced Custom Functions which lets you write endpoints to access and process data. It runs a Fastify server behind the scenes and can be deployed in the same instance as your DB. So I will be using this as the backend for our website.
## Things to Do 📚
Here are few things we need to setup to create our own curation web app
- Create a HarperDB Cloud instance
- Create a schema and table for our data
- Create a custom function project
- Create different endpoints
### Creating a HarperDB Cloud Instance ⚙️
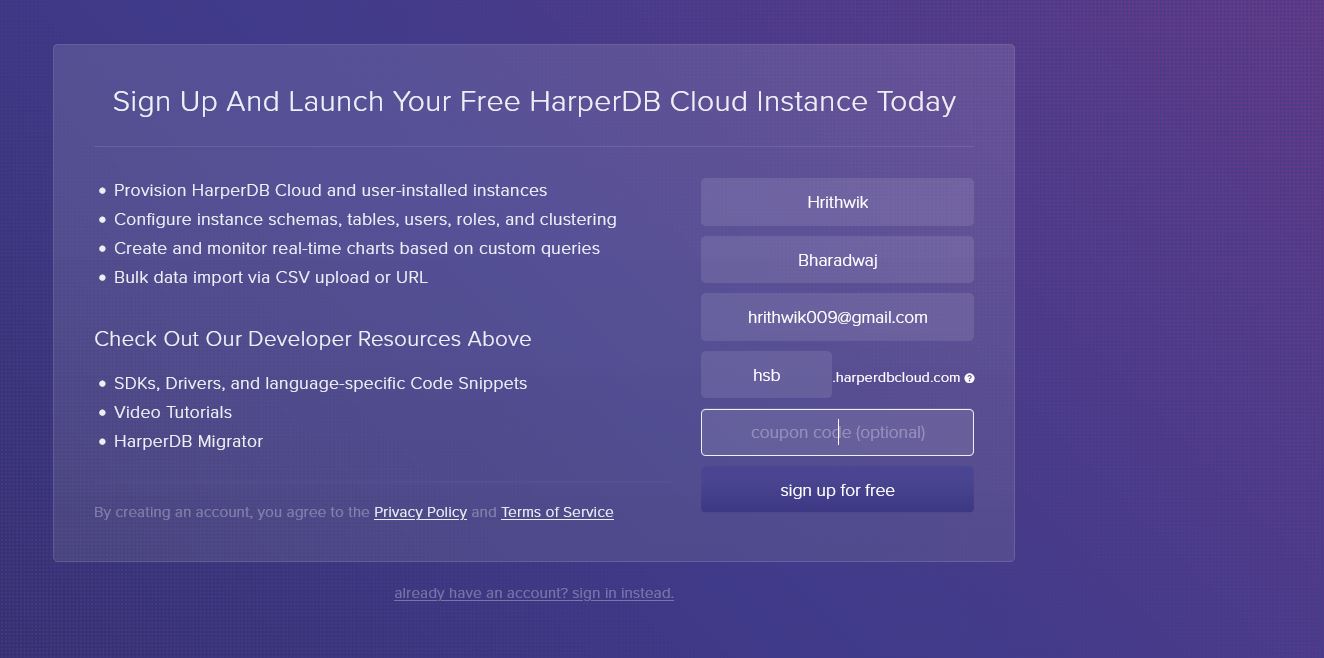
First Sign up here [studio.harperdb.io](https://studio.harperdb.io/sign-up/?ref=blog.hrithwik.me)
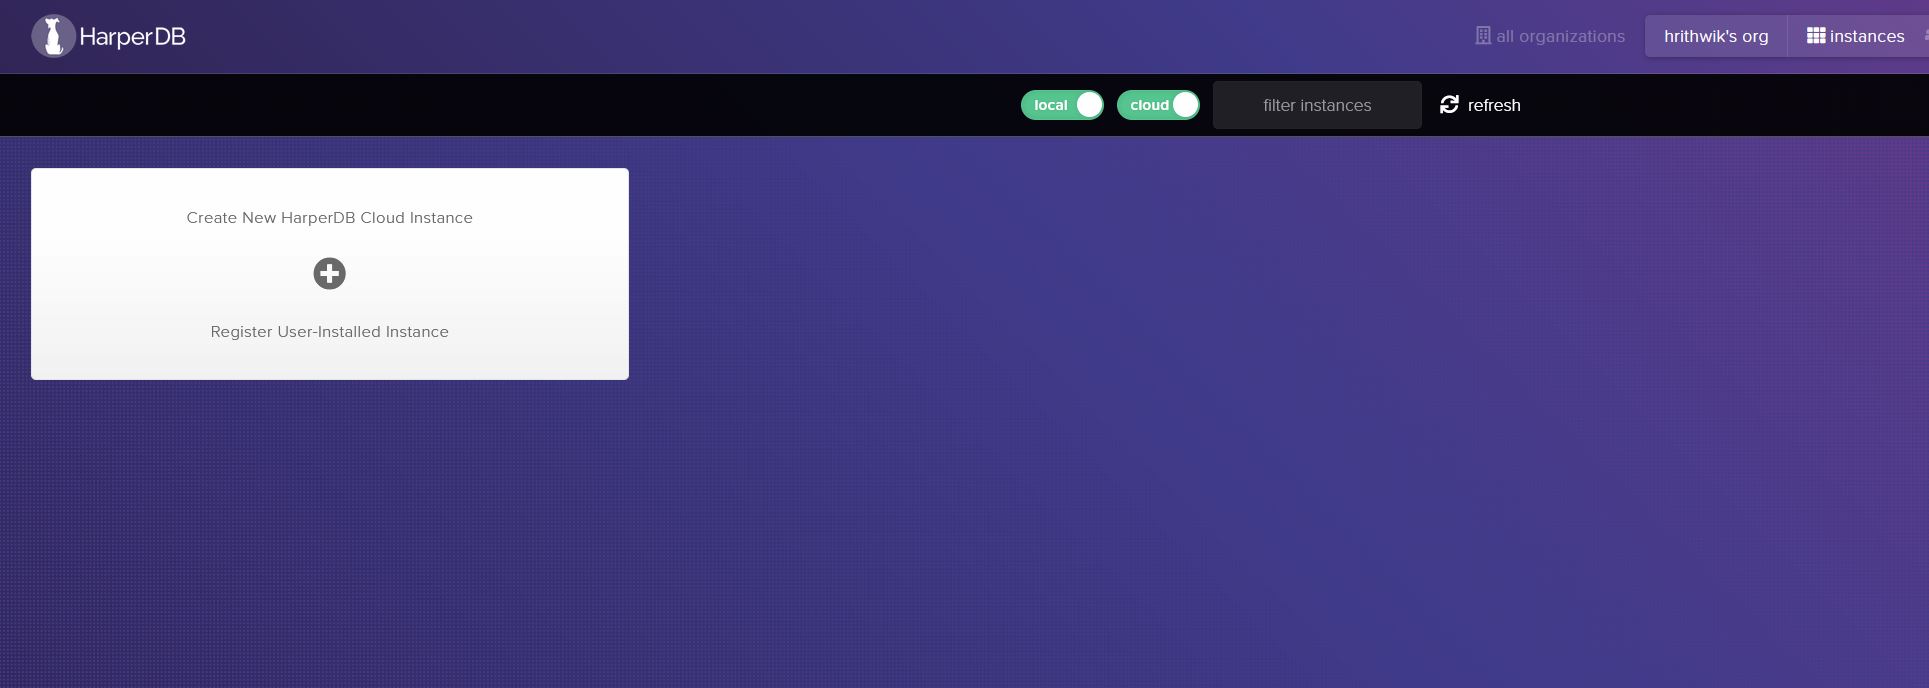
then click on create new HarperDB Cloud Instance
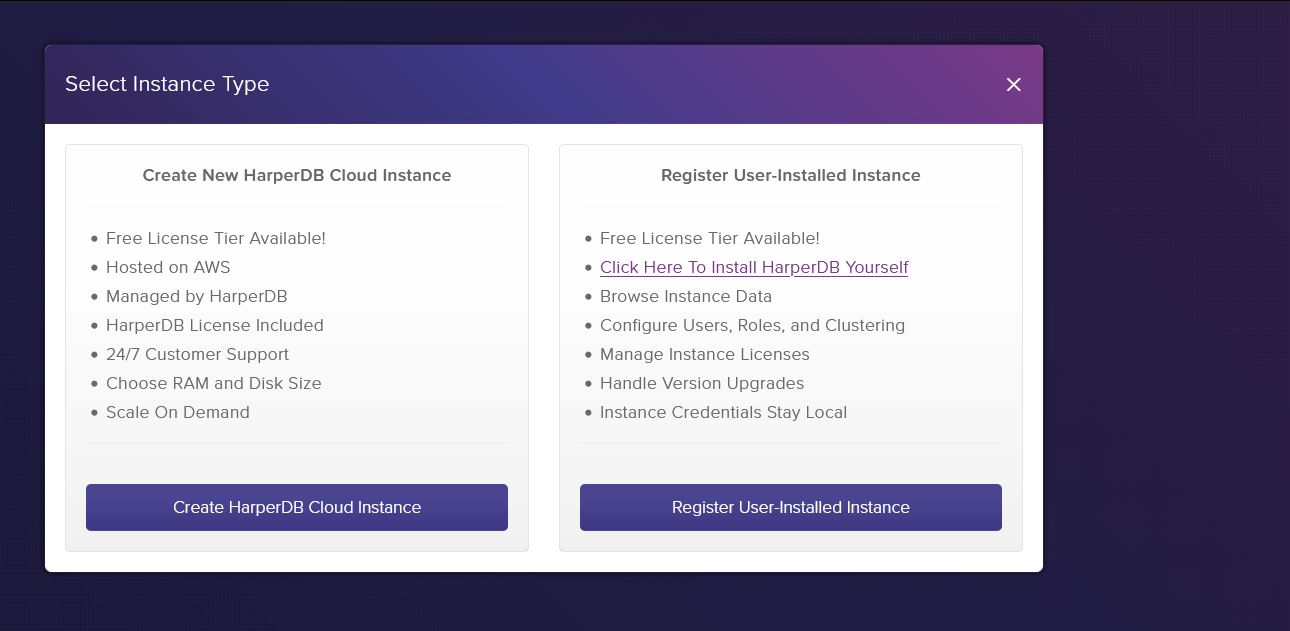
Here we will be choosing cloud instance
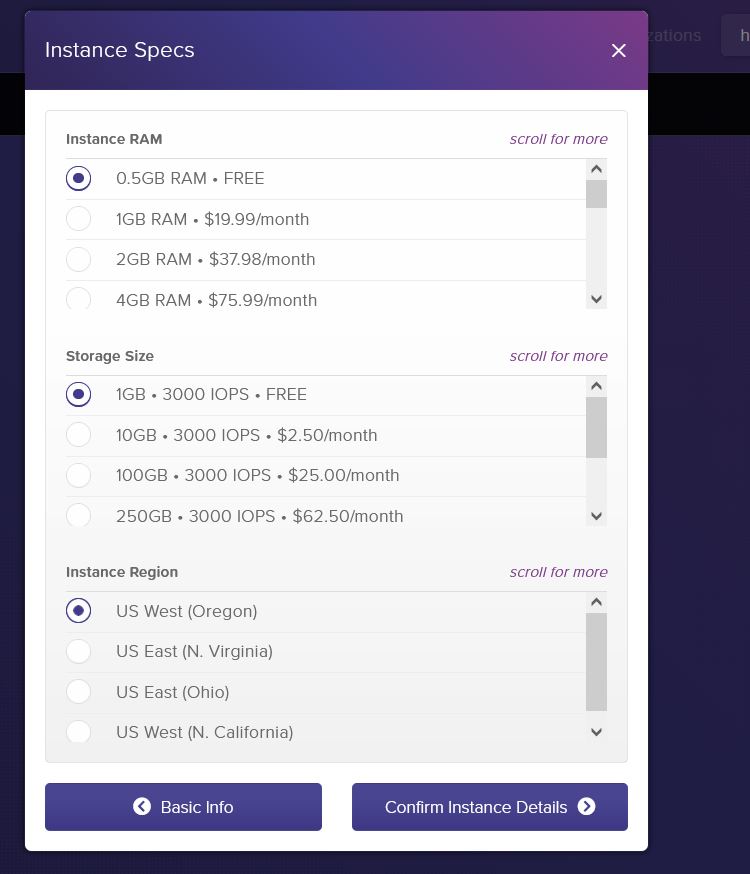
There are different Instance plans here, I will choose the free option for now
**Congratulations 🎉**
You have successfully completed the first step of creating a cloud instance.**
You are now the owner of your very own HarperDB Cloud Instance!**
### Creating a Schema and Table 📋
Let's now create a table -> create a schema and -> add data.
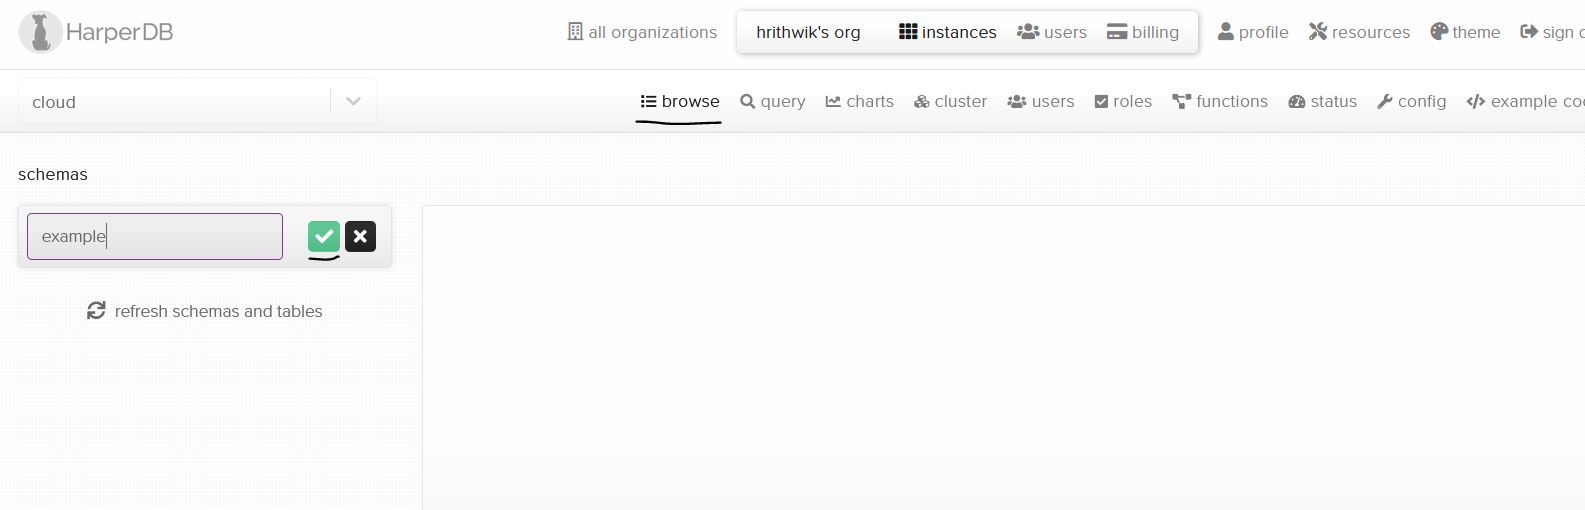
Open your cloud Instance and create a schema for your table. I will name it "example".
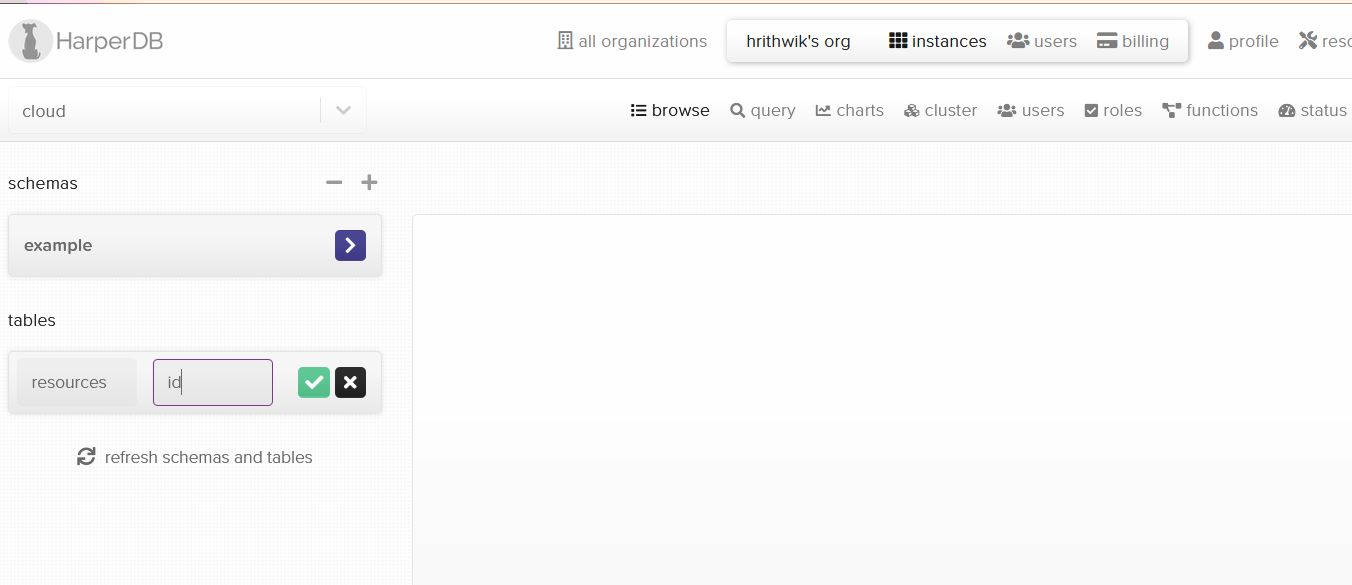
Now create a table, I will name it "resources" and for the hash attribute, I will be using "id"
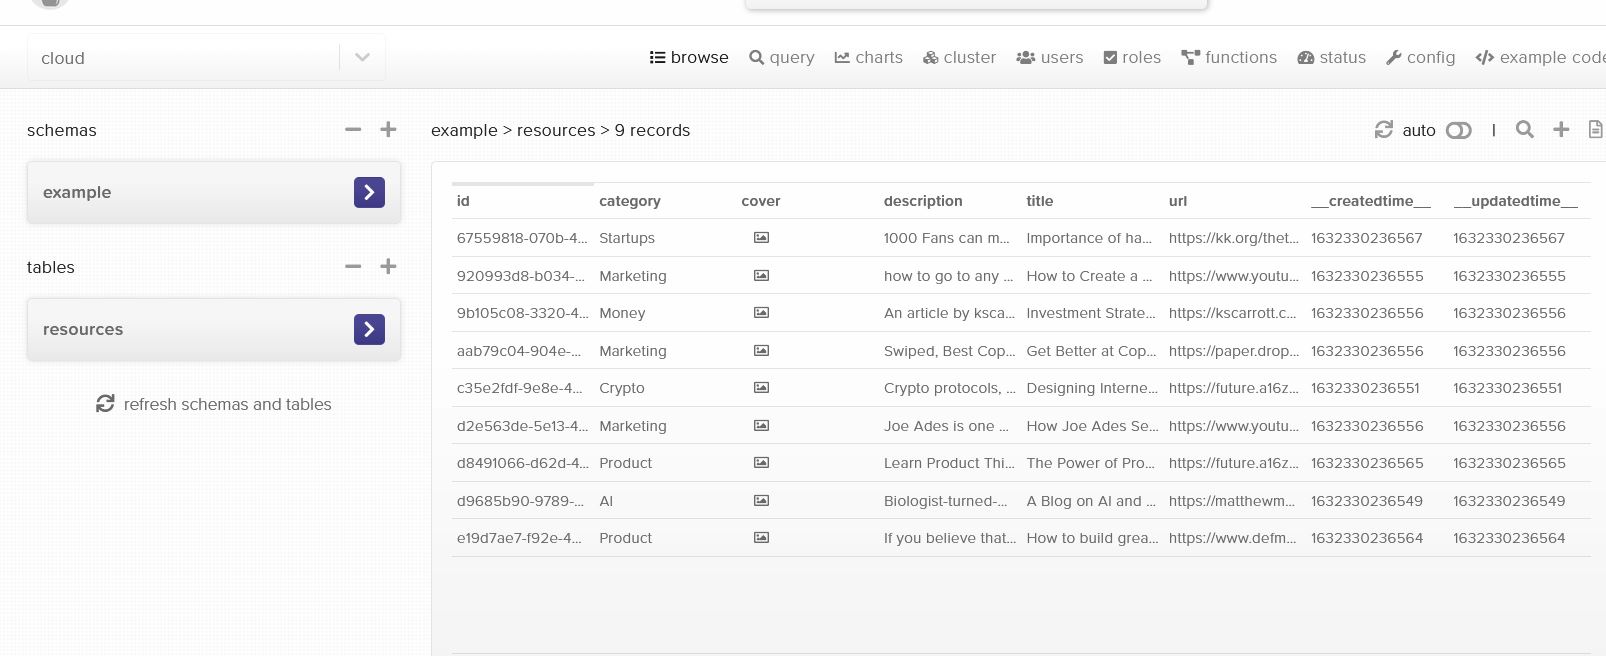
Time to add data...
Click on the plus symbol
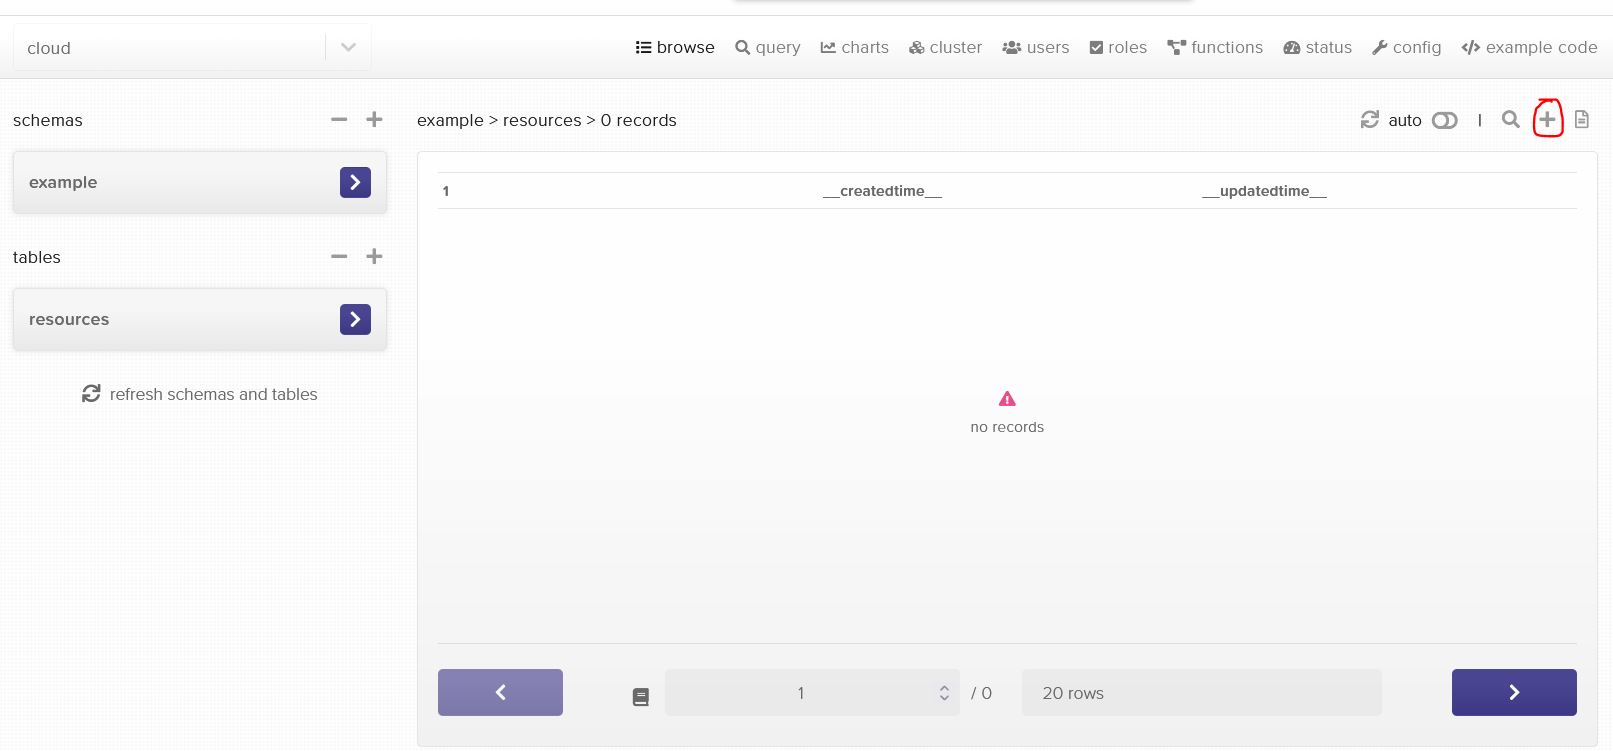
and here you can either send in one json object or multiple ones in an array. I will be pasting the below json:
```json
[
{
"url": "https://matthewmcateer.me/",
"title": "A Blog on AI and Blockchain",
"description": "Biologist-turned-ML-Engineer in San Francisco. I blog about machine learning, biotech, blockchain, dogs, and more.",
"cover": "https://matthewmcateer.me/photo-large.png",
"category": "AI"
},
{
"url": "https://future.a16z.com/a-taxonomy-of-tokens-distinctions-with-a-difference/",
"title": "Designing Internet-Native Economies: A Guide to Crypto Tokens - Future",
"description": "Crypto protocols, social apps, online communities, and marketplaces will need to deeply understand the interplay between fungible and non-fungible tokens to create their own internet economies.",
"cover": "https://future.a16z.com/wp-content/uploads/2021/06/V7_GenericTopic_Crypto.jpg",
"category": "Crypto"
},
{
"url": "https://www.youtube.com/watch?v=R9ch1Jvaj7A",
"title": "How to Create a Killer Marketing Message",
"description": "how to go to any event n leave with potential clients",
"cover": "https://img.youtube.com/vi/R9ch1Jvaj7A/maxresdefault.jpg",
"category": "Marketing"
}
]
```
Now we have successfully added data to our table. Time to create some API endpoints which we can use in the frontend.
### Creating your first Custom Function 💾
Head over to the Functions Section and create a Project. I will name my project as api.
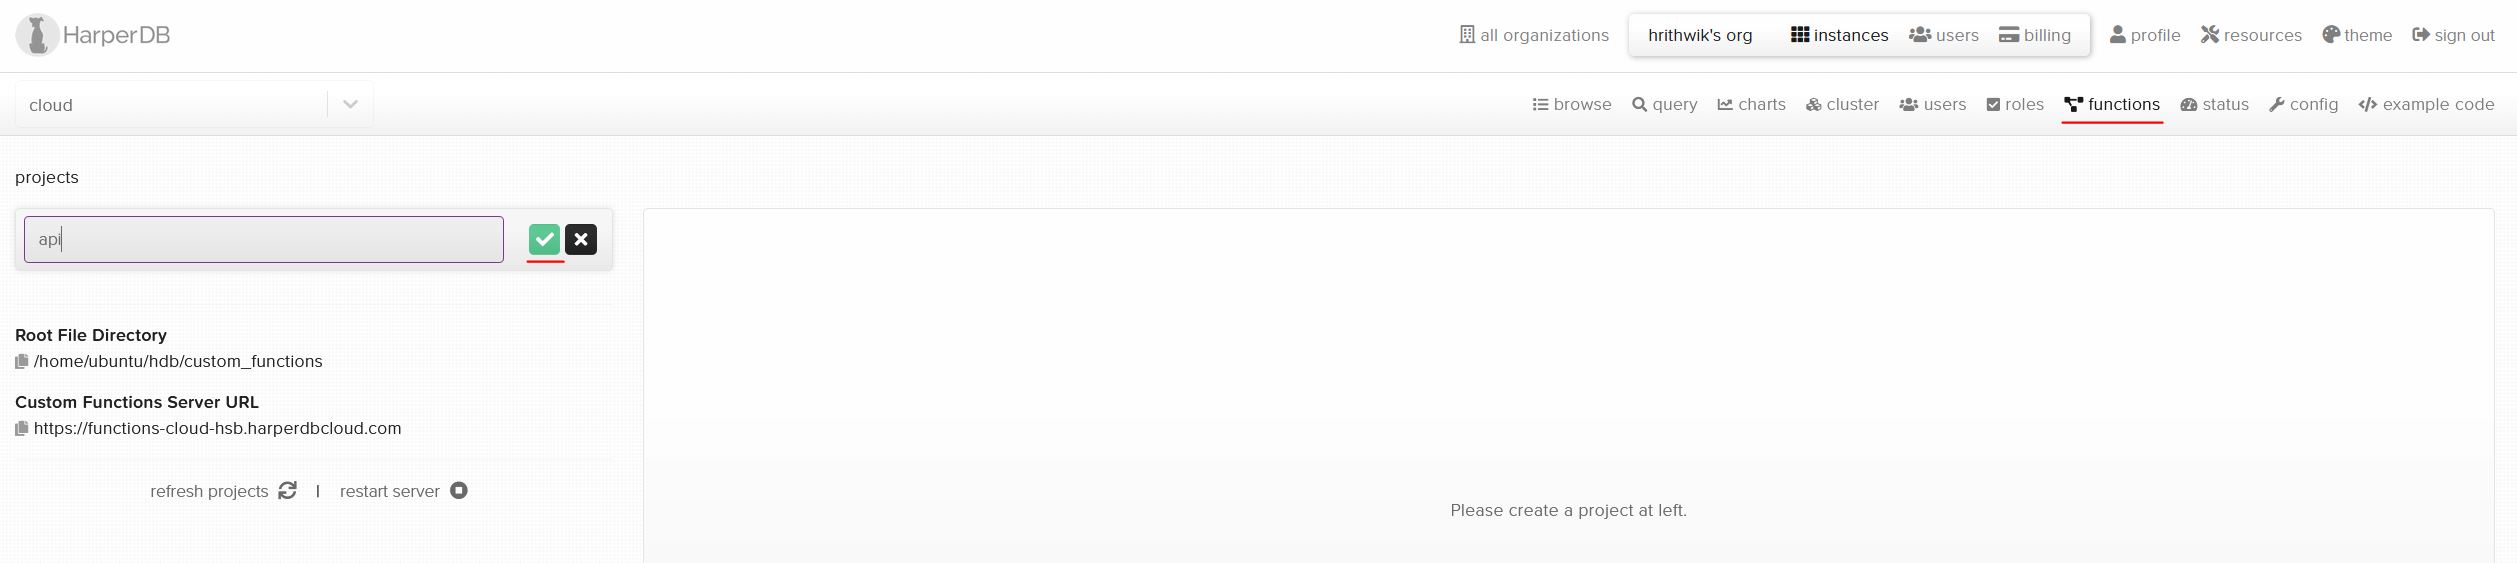
This gives you a file for adding routes, a file for adding helper functions and a static folder. I will discuss about helper functions later in the tutorial, Right now head over to the example.js file in the Routes folder and you will see some template code given. Let's remove it for now and just send "Hello world" as a response to check if our endpoint works.
```
'use strict';
module.exports = async (server) => {
server.route({
url: '/',
method: 'GET',
handler: () => {
return "Hello World!";
}
});
}
```
This will send Hello World as the output when we hit our endpoint.
You can access this endpoint at -> **{http://baseURL}/{projectName}**
In our case it is https://functions-cloud-hsb.harperdbcloud.com/api
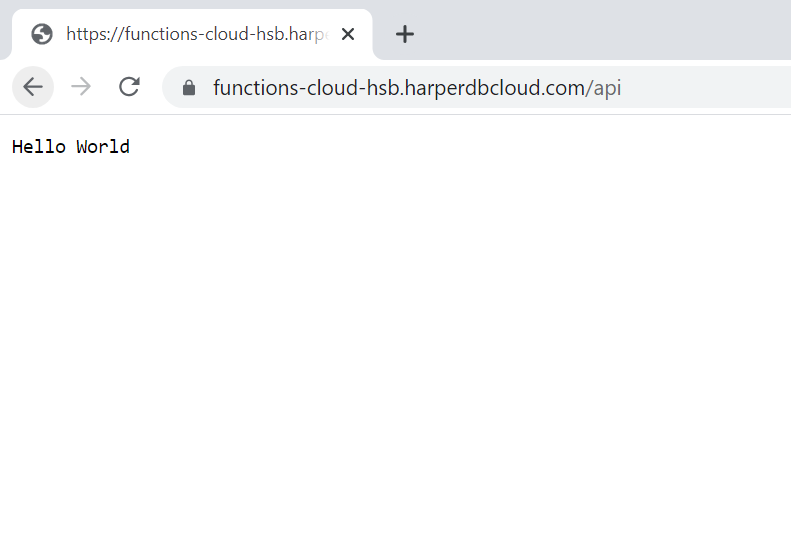
Nice, It's working!
Now let's create a route to fetch data by getting category from params.
**{baseurl}/api/resources/:category **
Here we are using a SQL query to select all the documents in the table resources which is from schema "example" where "category" comes from our params.
```js
server.route({
url: '/resources/:category',
method: 'GET',
handler: (request) => {
request.body= {
operation: 'sql',
sql: `select * from example.resources where category="${request.params.category}"`
};
return hdbCore.requestWithoutAuthentication(request);
}
});
```
Also, notice that HarperDB allows access to the database with no authentication with their built-in method. If you are doing a POST request, do create some prevalidation which checks auth token etc.
To showcase this, I will create a a simple prevalidator like throwing an error if a particular category is not available in our list.
For this we can use helper functions. Let's create one called "checkForCategory"
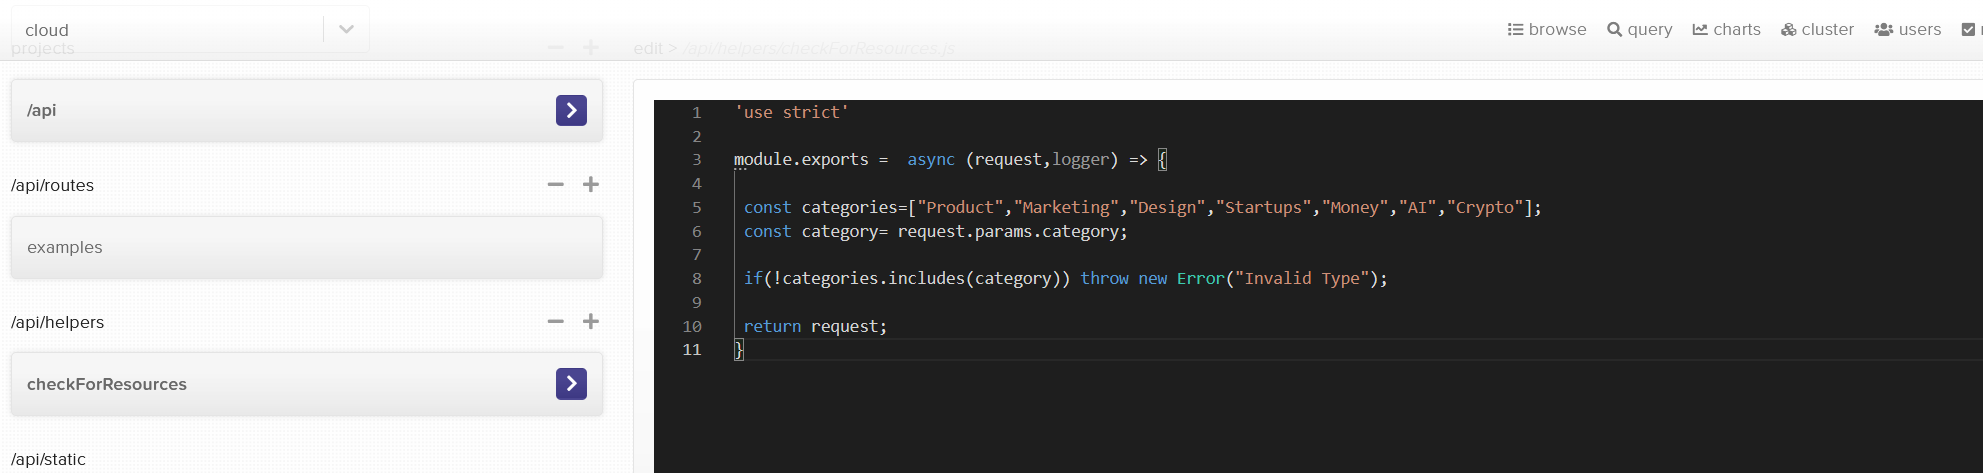
Now import the function and send the request through the prevalidation
```
'use strict';
const checkForCategory = require('../helpers/checkForCategory');
server.route({
url: '/resources/:category',
method: 'GET',
preValidation: (request) => checkForCategory(request, logger),
handler: (request) => {
request.body= {
operation: 'sql',
sql: `select * from example.resources where category="${request.params.category}"`
};
return hdbCore.requestWithoutAuthentication(request);
}
});
```
Congratulations! You have successfully created a few endpoints to get data from your database . While also being hosted in the same instance. So, no need to deploy your backend somewhere else.
You can also do pagination etc here like
```
server.route({
url: '/resources',
method: 'GET',
handler: (request) => {
const size = request.query.size|| 10;
const page = request.query.page || 0;
const skip = parseInt(page)*parseInt(size);
request.body= {
operation: 'sql',
sql: `SELECT * FROM example.resources ORDER BY category LIMIT ${size} OFFSET ${skip}`
};
return hdbCore.requestWithoutAuthentication(request);
}
})};
```
## Frontend 📺
I sketched a simple UI using [excalidraw](excalidraw.com/)
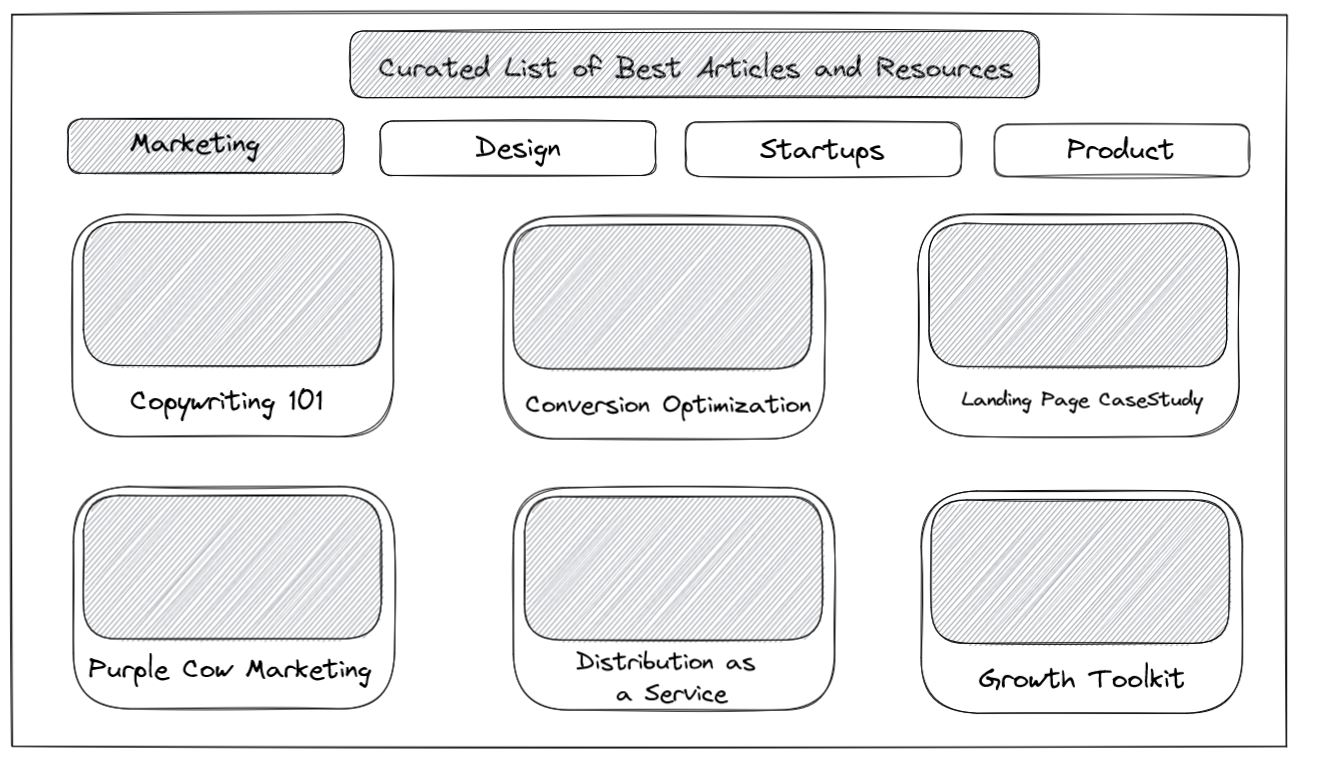
Once that was done , I set up a React project and changed the app.js to this
```js
import './App.css';
import { useState,useEffect } from 'react';
function App() {
const [items, setItems] = useState([]);
const [activeIndex, setActiveIndex] = useState("Marketing");
const [selectedTag,setSelectedTag] = useState("Marketing")
useEffect(()=>{
function fetchData () {
fetch(`https://functions-cloud-hsb.harperdbcloud.com/api/resources/${selectedTag}`, {
method: 'GET', // or 'PUT'
})
.then(response => response.json())
.then(data => {
setItems(data);
})
}
fetchData()
},[selectedTag]);
const tags=["Marketing","Startups","Podcasts","Product","Crypto","Learn"];
function ChangeResource(tag){
setSelectedTag(tag);
setActiveIndex(tag);
}
return (
<>
Curated List of Best Articles and Resources 📚
{tags.map(tag=>(
ChangeResource(tag)} key={tag} className={activeIndex === tag ? "sectionType active" : "sectionType"}>
{tag}
))}
{items.map((item,key)=>{
return(
) }
)}