Convert your Website into an APP with 3 easy steps

There are several websites which let you convert your website into an Android/IOS app, But in reality, They provide a web view of the website with tons of watermark
Instead of using these services let me tell you about PWA's and how you can convert your website into a Progressive Web Application (PWA) by following 3 easy steps.
What's a PWA?

** Progressive Web Applications ** is a technology built by Google developers which allow developers to add native looks and some features like offline load & Push Notifications to your website.
Advantages of PWA

Easy Installation for users: It just take few seconds to install PWAs and they are lightweight which is the reason why Instagram lite and Facebook lite is basically a PWA.
Easy to build: Web technologies are easier to learn than native development and numbers of developers required to build a project is also less.
Cost-Effective: With one code base your website can run on android phones, iPhones and Windows Computers.
Better Performance: With image and code caching the performance is increased drastically.
Prerequisites
Basics of HTML and JavaScript
Current Website should load with HTTPS
Current Website should be responsive
How can you do it?
These are the three files needed to convert your current website into an installable PWA.
Manifest JSON

This is the file which helps you add splash screens and icons to your app. In this file, you specify basic metadata like your app name, icon size, icon directory and start URL of your website.
Here is my Manifest.JSON which you can copy and replace it with your details.
{
  "name": "Hrithwik Bharadwaj",
  "short_name": "Hrithwik",
  "description": "Portfolio PWA of Hrithwik Bharadwaj",
  "icons": [
    {
      "src": "/assets/img/icons/512x512.png",
      "type": "image/png",
      "sizes": "512x512"
    },
    {
      "src": "/assets/img/icons/256x256.png",
      "type": "image/png",
      "sizes": "256x256"
    },
    {
      "src": "/assets/img/icons/192x192.png",
      "type": "image/png",
      "sizes": "192x192"
    }
  ],
  "start_url": "/",
  "scope": "/",
  "dir": "ltr",
  "background_color": "#111111",
  "display": "standalone",
  "theme_color": "#111111",
  "orientation": "portrait",
  "prefer_related_applications": false
}
This might be confusing to understand if you are a beginner so just check out this manifest generator to generate icons and later download the file.
Also don't forget to Include this in your HTML file
<link href="/static/manifest.json" rel="manifest">
Service Worker

This file helps in making your app work offline by caching important files. If you have worked on React or Vue Projects this file is usually shipped along.
Here I am using WorkBox API for service worker as its very simple. Just create a file called sw.js and paste the below code there.
if ('undefined' === typeof window) {
    importScripts('https://storage.googleapis.com/workbox-cdn/releases/4.3.1/workbox-sw.js');
}

workbox.core.skipWaiting();
workbox.core.clientsClaim();

if (workbox) {

    console.log(`Yay! Workbox is loaded 🎉`);

    workbox.precaching.precacheAndRoute([
        {
            "url": "/",
            "revision": "1"
        }
    ]);

    workbox.routing.registerRoute(
        /\.(?:js|css)$/,
        new workbox.strategies.StaleWhileRevalidate({
            cacheName: 'static-resources',
        }),
    );

    workbox.routing.registerRoute(
        /\.(?:png|gif|jpg|jpeg|svg)$/,
        new workbox.strategies.CacheFirst({
            cacheName: 'images',
            plugins: [
                new workbox.expiration.Plugin({
                    maxEntries: 60,
                    maxAgeSeconds: 30 * 24 * 60 * 60, // 30 Days
                }),
            ],
        }),
    );

    workbox.routing.registerRoute(
        new RegExp('https://fonts.(?:googleapis|gstatic).com/(.*)'),
        new workbox.strategies.CacheFirst({
            cacheName: 'googleapis',
            plugins: [
                new workbox.expiration.Plugin({
                    maxEntries: 30,
                }),
            ],
        }),
    );
} else {
    console.log(`Boo! Workbox didn't load 😬`);
}

workbox.googleAnalytics.initialize();
Now that you have created an sw.js file just add the link to it on your HTML page.
<script src="sw.js"> </script>
Adding the installable component

This part is the one which will allow you to get automatic "install now" prompt.
   <script>
            if ('serviceWorker' in navigator) {
              navigator.serviceWorker
                .register("sw.js", {scope: '/'})
                .then(registration => {
                  console.log("ServiceWorker running");
                })
                .catch(err => {
                   console.log(err);
                })
            }

</script>
Copy this and add it in your HTML file.
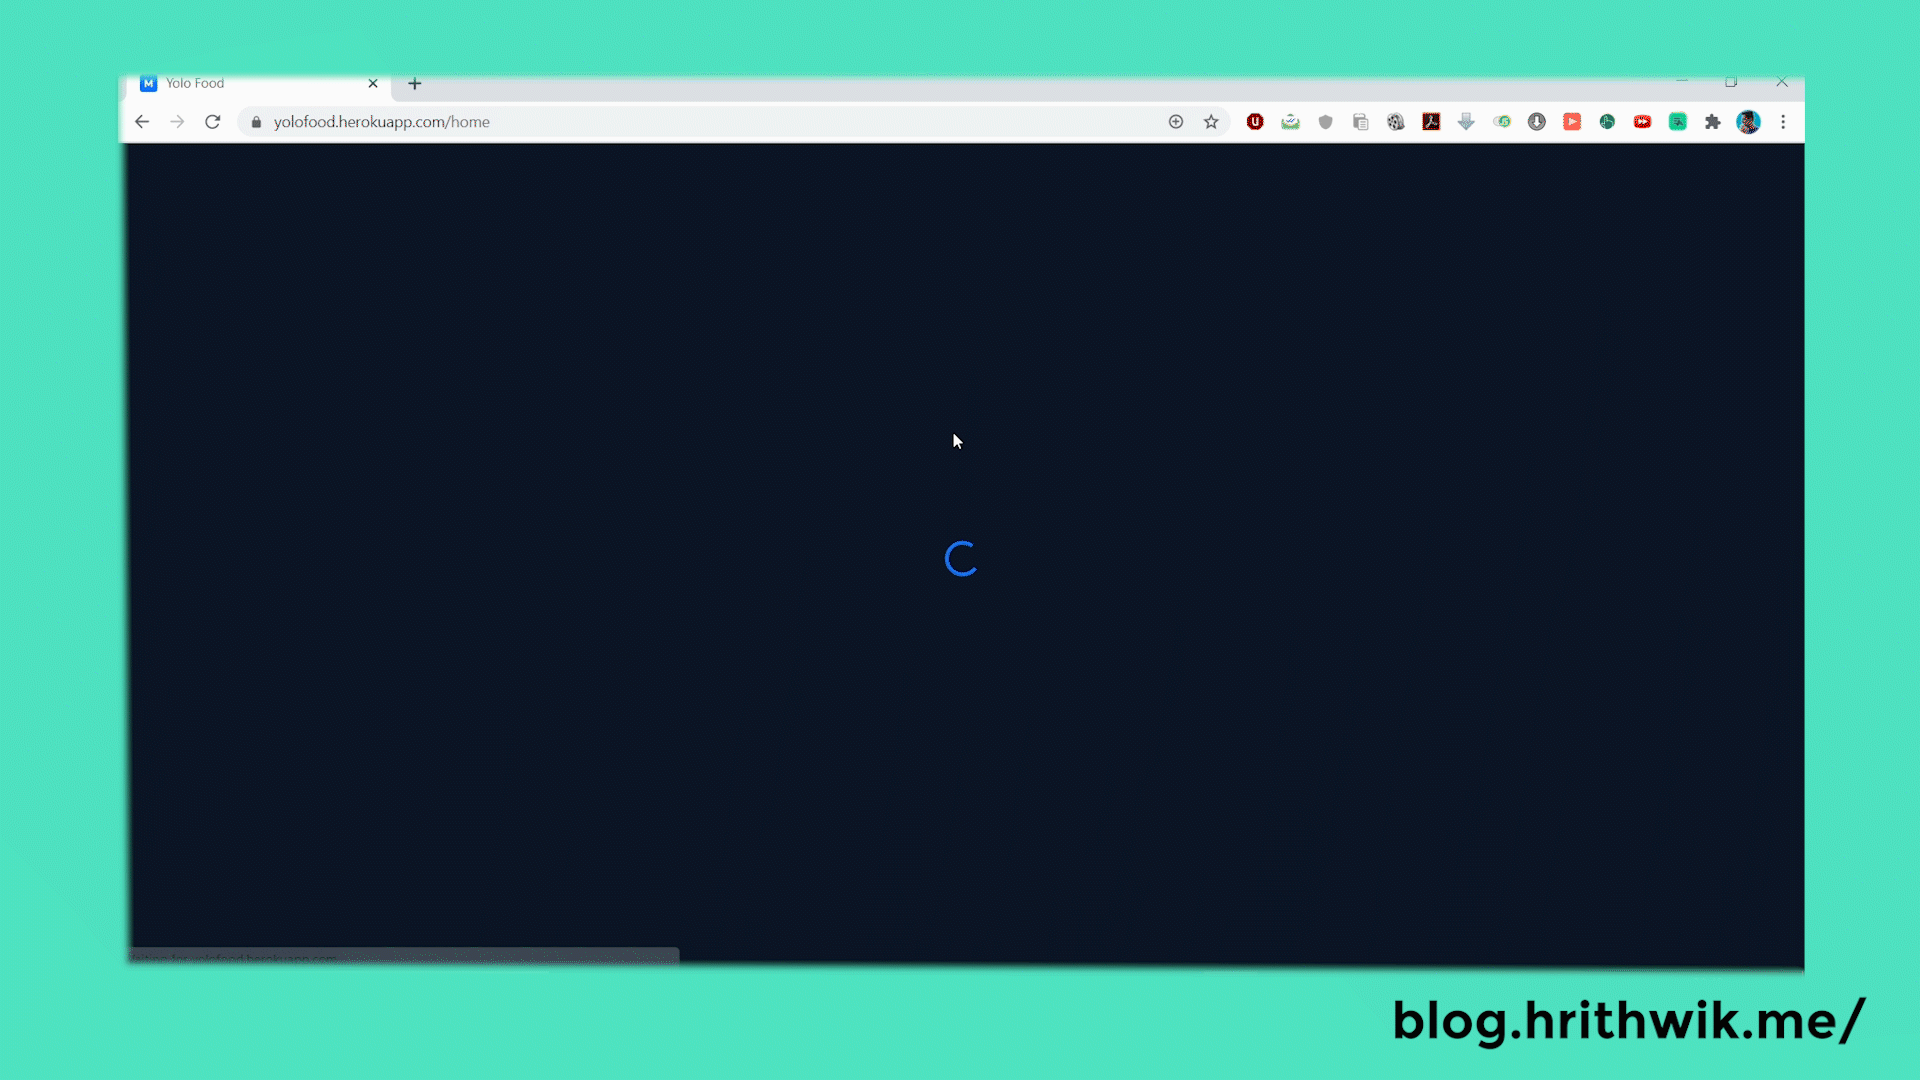
Testing
After you add these things. To check if everything is working fine, Use Lighthouse in chrome and check if it is showing a PWA sign.

What next?
PWA's can have many other features and even have a different type of service worker. Above code was the easiest implementation for beginners.
Below are some small things which you can add.
Custom Install Button
You can do something like this where the button hides after installation using this code some simple JavaScript code and CSS.
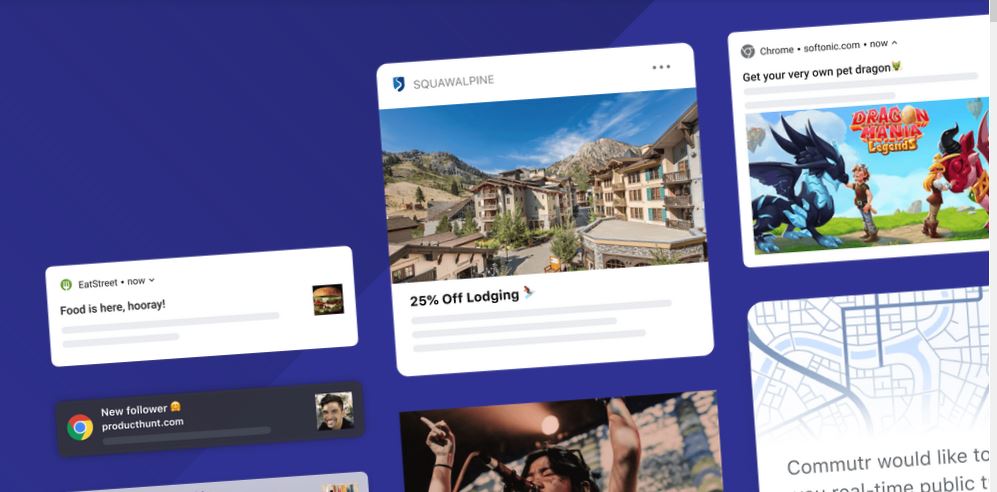
Push Notifications
From BookMyShow to Instagram everyone sends Push Notifications from PWA to their users. This can be implemented using OneSignal or Firebase Cloud Functions
Conclusion
If you have a small team which has already built a mobile first website than it's easier to switch to PWA.
To be honest, it's a temporary fix until your native app is getting ready.
Yeah sure, PWA looks like a mobile app but it isn't as smooth as a native app. A lot of developers like me are waiting for PWA's to become smooth.
(Update: There is also a new kind of Installation Widget that twitter started using for it's PWA - Here is short guide on it.)