How to Deploy Flask apps for Free with Heroku

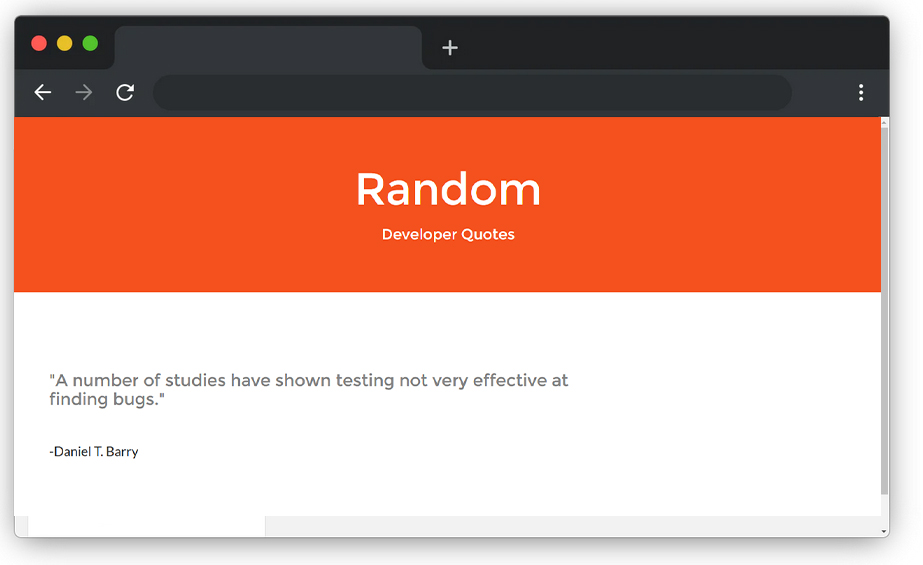
Let's say you have built a flask app and want to deploy it for free. For example, Here is a single page flask app which I built few days back which displays random developer quotes.
There are a few options you have like PythonAnyWhere or Nitrious.io but both of them aren't that reliable and easy. That's where Heroku comes in.
What's Heroku?

Heroku is a container-based cloud Platform as a Service (PaaS). You can use Heroku to deploy, manage, and scale modern apps. You don't need to add credit card details to deploy apps here.
Advantages of Heroku
- Deployable using Git
- Free of Cost with 450 Hours of runtime
🛠️Tools needed on your machine
Before we begin you need to install these on to your windows/mac machine with the Gunicorn Pip Package.
💻Setting up Heroku
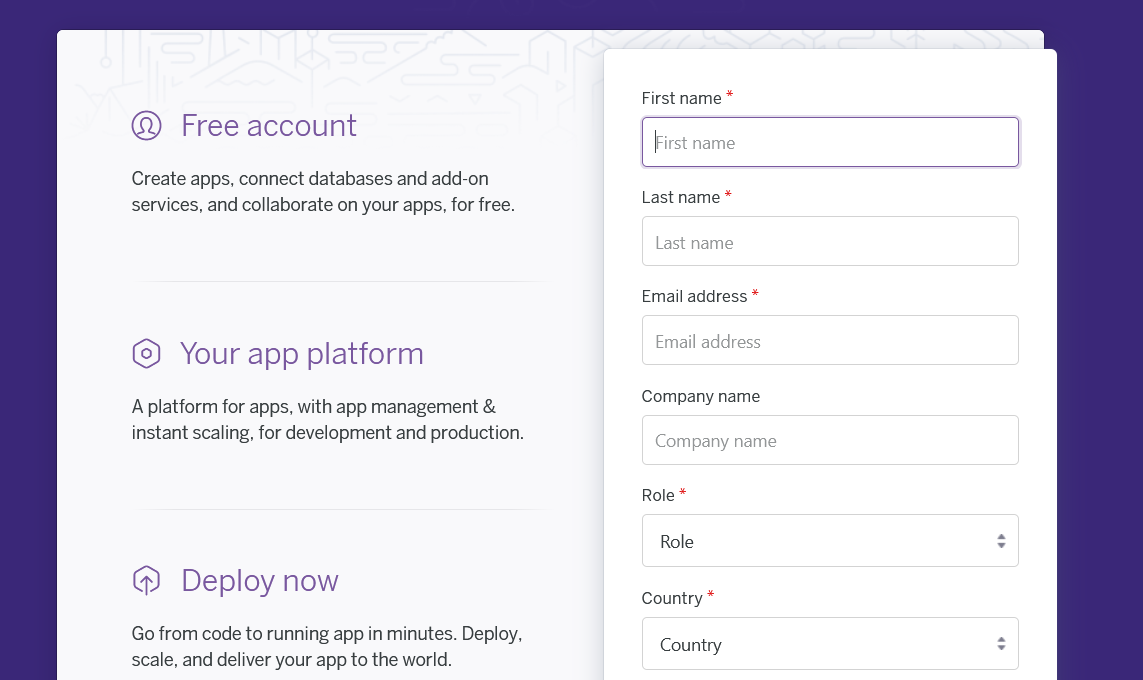
Now that you have the essential tools installed on your PC/laptop, Go to Heroku Signup and fill in your details by confirming your email address.
Open the project folder and open command line terminal there and do the following commands
heroku login
If everything is good you will see something like this

🦄 Three important files for Heroku
Before deploying the flask app to Heroku you need to create these 3 files in your project.
- The procfile
- Requieremnet.txt
- runtime.txt

The Proc File
In simple words, this file tells the Heroku machine what program to run by which dyno. In case you are interested in reading more about the Proc File check this article.
web: gunicorn app:app
Requirement.txt
This file contains all the packages which are imported in the app.py which needs to be installed. You can generate this using pipreqs utility or using the command "pip freeze". Also don't forget to add jinja2 and gunicorn inside requirements.txt file.
Flask_Compress==1.4.0
Flask==1.1.0
Flask_SSLify==0.1.5
requests==2.20.1
gunicorn
Jinja2
gevent
Runtime.txt
python-3.7.5
🚀 Deploying to Heroku
heroku create (your app name)
This would create a git repository and a Heroku app with the unique link generated.
D:\Deshik\HashNode\Developer Quotes>heroku create devquoteflask
Creating ⬢ devquoteflask... done
https://devquoteflask.herokuapp.com/ | https://git.heroku.com/devquoteflask.git
Now Heroku creates its own private git repo. You can either use it by typing the following command every time you add new changes to your project.
git init
git commit -m "commit"
git push heroku master
or you can even connect your GitHub repository so that every time you push something to your main GitHub repository, Any changes made to the app will automatically be reflected in the website. Follow this article to connect your Github Repository to Heroku.
🌐 My Single Page Flask app
Here is a simple Flask app I built for this article, Which Gives you new Programmers Quote every single time you refresh - http://devquoteflask.herokuapp.com/.
Refer the full source code in case you have any doubt with the files
😮 What's the Catch?
The free tier of Heroku is actually pretty good. You are limited to 10k database rows and the dyno spools down when it hasn't been used in about 5 minutes.
It makes the initial page load quite slow and it won't be able to handle heavy traffic but it's a seriously generous package and great for development.
You are allowed to create only 5 projects with 450 hours of dynos per month without adding the credit card. By adding credit card you get extra 550 hours of dynos.
Now that I helped you save some cash for deployment. Follow me on Twitter and Linkedin to stay connected.
Also, Check out my previous article on How I Created a MEME Bot using Python